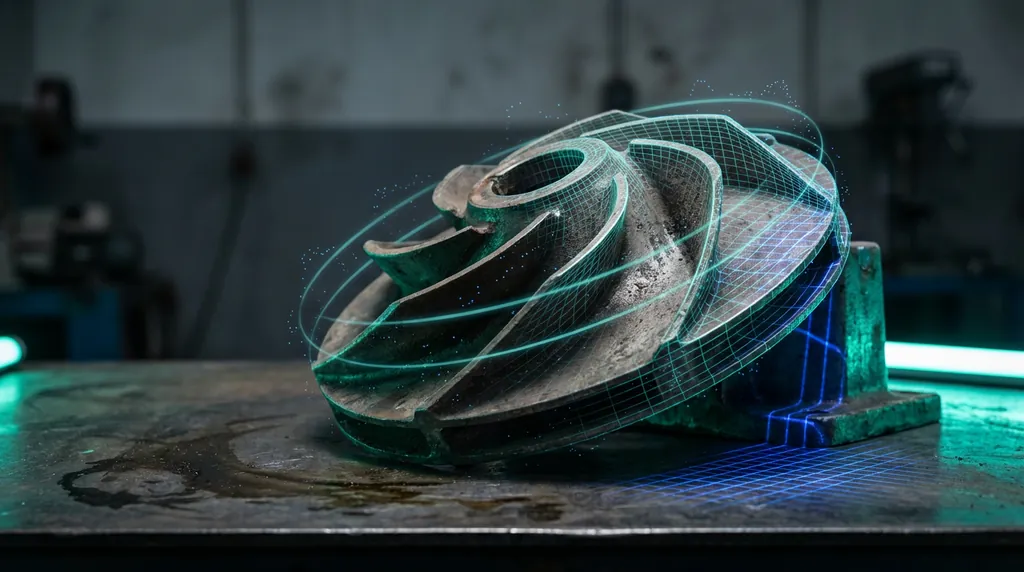
This part arrived damaged — literally. Some features were missing, and others were glued back together, which naturally showed up in the scan as deformation and excess material. From a reverse engineering perspective, that meant we couldn't rely on simple extraction. The data was messy, inconsistent, and had areas that needed to be completely rebuilt from scratch.
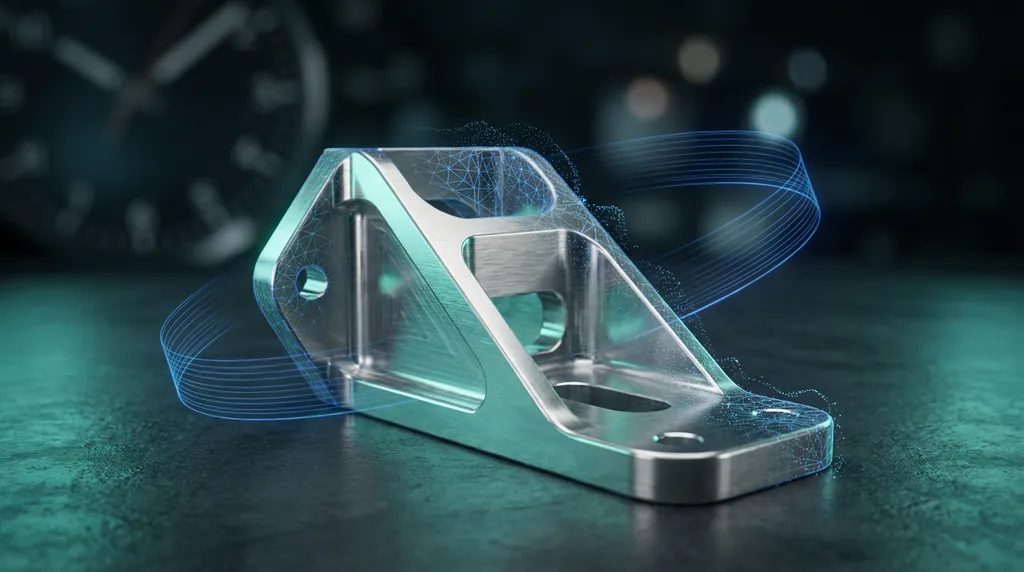
§ Inside Geomagic Design X — How We Made It Work
Each issue in the scan needed a targeted response. Here's the breakdown of problems and the exact tools we used to solve them.
§ Scan Cleanup & Alignment
- Excess glue & non-manifold edges → Health Wizard (Fix Non-Manifold, Remove Spikes < 0.05 mm), plus targeted Brush Smoothing on adhesive blobs.
- Datum lost due to warpage → Align with 3-Point Alignment to re-establish the coordinate frame, rejecting regions warped > 0.1 mm RMS.
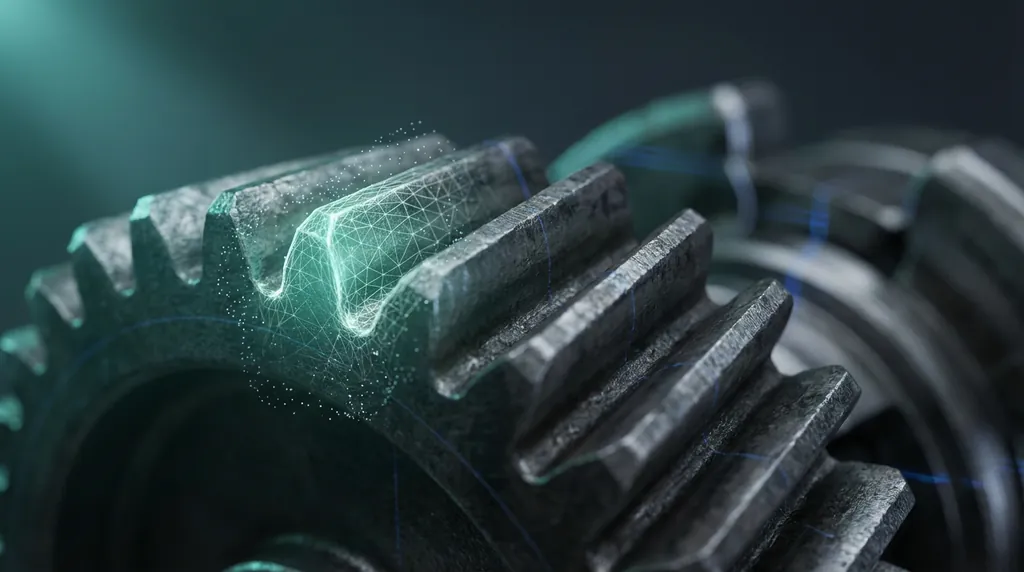
§ Rebuilding Missing Features
- Clips broken or completely missing → Section Sketch on the best intact profile, Mirror, then Extrude Boss (8 mm, 1° draft) with 0.8 mm fillets to match OEM spec.
- Free-form pocket badly deformed → Exact Surface (global tol 0.08 mm) followed by Trim/Extend to knit the new surface seamlessly into the solid body.
§ Parametric Output & QA
- Need an editable parametric model, not a dumb solid → captured every feature in the Design Tree and pushed it via LiveTransfer to SOLIDWORKS for full downstream editability.
- Accuracy must stay within ±0.15 mm → Accuracy Analyzer (3-color deviation map), iterating until ≥ 97% of main fitting points fall inside spec, then finalize with Check CAD Body and export STEP/SLDPRT.
Was this helpful?
Take it further
Have a part like this? Or want to learn the workflow yourself?